Creating jackets in 3D removes any limitations one may face while building it the traditional way. For example, when designing a jacket manually, certain parts must be pressed to ease or shape it, but in 3D, there is no need for that.
3D provides the apparel designer or creator with a wider range of possibilities and details. It also enables the creator to work with added flexibility and ease when tweaking designs and experimenting with various design or styling options.
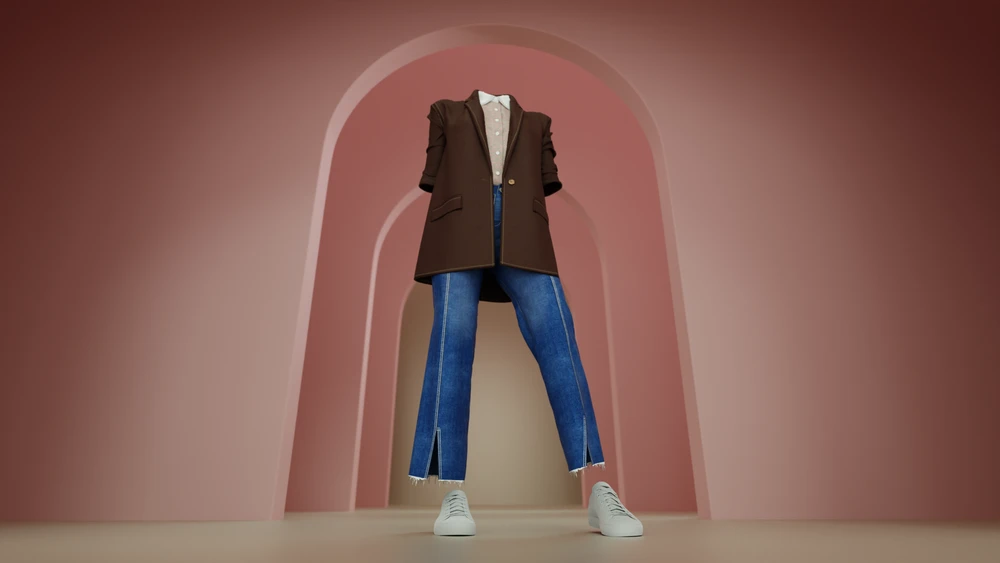
Piping, top stitching, pockets or even shoulder pads – all those components in any jacket can be visualized in someone’s mind, designed, and built with ease and flexibility. And the result? The jacket you’ve been dreaming of.
Let’s dive deeper into Shoulder Pads
Many people ask the same question: What do shoulder pads actually do? When designing a jacket, a shoulder pad plays an essential role as it helps maintain a suit’s shape and shoulder line. Shoulder pads have two important components: the pattern pieces and the fabric.
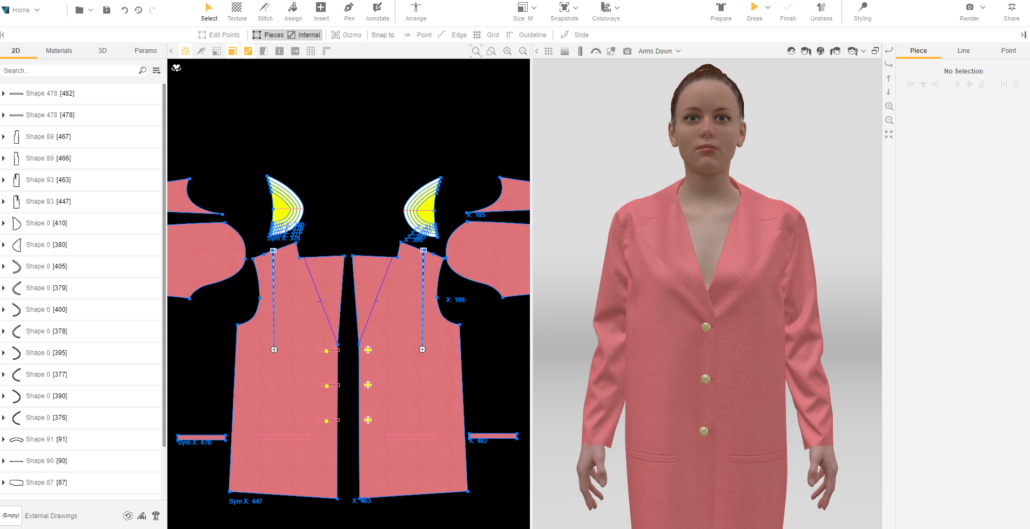
There are usually three pattern pieces for every shoulder pad. To create pattern pieces in VStitcher, one must align the shoulder lines of the front and back pieces and then use the ‘pen’ tool to draw the shape. After the shape has been drawn, one can adjust the ‘curve type’ to extract the biggest shoulder pad piece. By using the ‘clone the edges by offset’ one can create identical but smaller (or bigger) pieces. As mentioned, the second important component of any shoulder pad is the fabric, which can be ‘cloned’ and/or have its’ physics’ or ‘form’ modified or replaced.

For optimum results when creating shoulder pads, it is recommended to lock the lining and interfacing patterns before dressing the patterns. The shoulder pad is placed in between the shell and the lining, so locking the latter will make room for the thickness of the shoulder pads, which can also be adjusted if needed based on the simulation. One can change the transparency of the shell fabric to visualize what the shoulder pad looks like underneath.
Here are 5 useful tips when creating a jacket in VStitcher:

Tip #1: Only export patterns from the 2D CAD system
Jackets are typically made up of many patterns, which can be complex due to the many layers. Therefore, it is essential only to export the patterns from the 2D CAD system that one would need for use in VStitcher.
Tip #2: Name your patterns so they’re easy to identify
There is an icon on the 2D window toolbar to turn on shape (piece) information. If the names of the pieces are not showing, one can go to the Main menu, click View > 2D Display > Shape Options, and select Pieces Names. When preparing the patterns, it’s recommended to name them, so they are easy to identify.
Tip #3: Only import net patterns
There should be no seam allowance for all the patterns, including the pockets or interfacing pattern pieces. Therefore, it is important only to import net patterns.
Tip #4: Identify and organize shell patterns first
It is advised to start by identifying and organizing the shell patterns first as the base patterns/pieces. Ensure that the pattern pieces are facing the right direction. If needed, one can always use the Gizmo tool to rotate the selected patterns.
Tip #5: Screenshot the 2D patterns
Having a screenshot of the patterns in the 2D CAD software you’re working with can be used as a reference for organizing the patterns in VStitcher. In addition, it helps ensure pieces are placed in the right section of the garment.
Looking to learn more about how to create shoulder pads and design suits in 3D? Check out a video from our Browzwear Expert Tips page.
Browzwear Expert Tips Page