Tutorials
Spotlight on 3D Denim Creation
In our first of the two-part spotlight on denim creation, you’ll discover how to seamlessly work with denim washes in 3D.
From weaving through to washing, creating denim garments is a rather complex and certainly a hands-on process, however, the results are always rewarding. At Browzwear, we work closely with denim specialists, enabling our users to enjoy a seamless denim creation workflow, and take advantage of top-notch visualization capabilities for true-to-life results.
To dive into the process, we chatted with Greg Dodd , Senior Menswear Designer, and 3D Specialist, to learn more about the denim creation process and how to achieve realistic-looking denim washes in 3D.
For over a decade, Gregg has specialized in denim, working closely with design managers and buyers and often visiting denim factories to create a variety of jeans. Greg has worked as a Senior Menswear Designer in some of the UK’s leading high street brands including River Island and Republic.
A bit of background on denim creation:
When it comes to creating a pair of jeans, there are many different aspects to account for. For example, the key style of the jeans, the cut, the fit, and whether they are being designed for men or women, as the details will often differ between the two. Each style of jeans will require different stitching and finessing details, for example, skinny jeans typically entail a narrow needle whereas a straight pair will use a wider twin needle. In other words, even the tiniest of details can make all the difference from one pair of jeans to another.
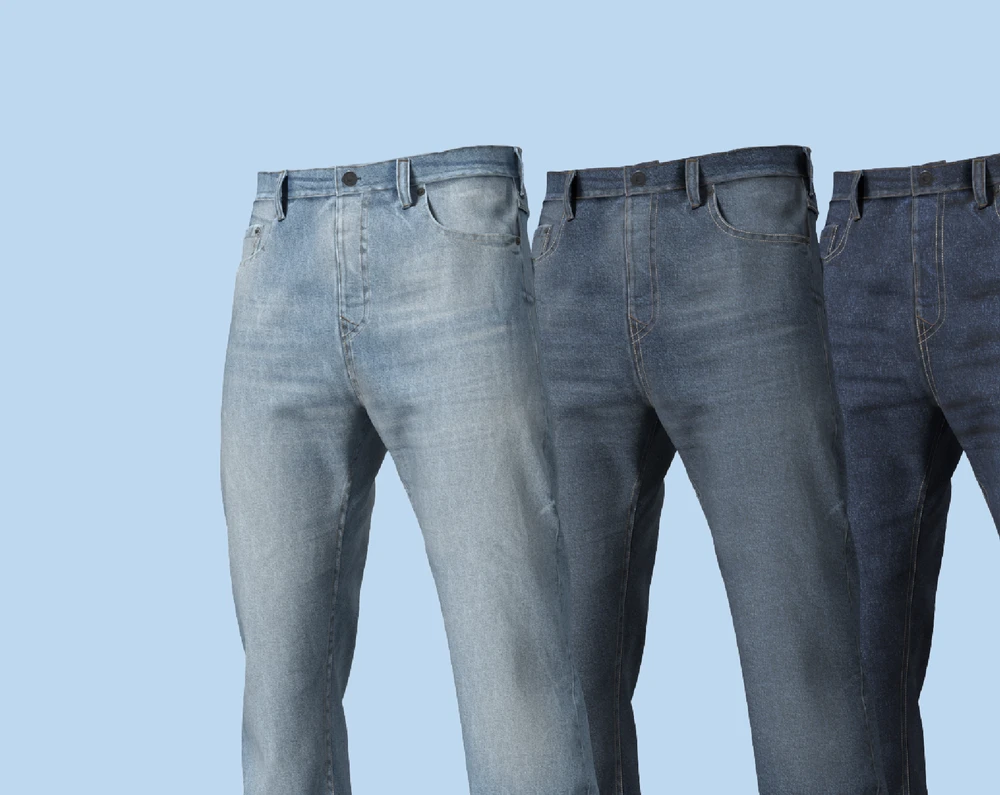
It’s also important to consider that the fabrics being used to create each denim garment will depend on the style of the jeans. Skinny jeans will typically have stretchier fabrics, as opposed to straighter jeans that may use a heavier fabric, to create a more authentic look. When creating the wash of the jeans, one of the most important parts of the denim creation process, each wash will have a formula of chemicals needed for the supplier to create the effect. If the fabric is darker, the denim will need to be washed for longer, compared to a lighter fabric which can be washed for less time. The drying process will then allow the color to fade through the legs of the jeans to create the finished look.
When creating jeans in Browzwear’s 3D clothing design app, VStitcher, designers have the freedom to experiment with different fabrics, washes, and tones without utilizing any physical fabrics or chemicals. “ Working with denim digitally, is a lot more interactive, particularly with the back and forth communication between the designer and the factory,” says Greg. “Formulas are different for each pair of jeans, and you have the ability to give it a few goes until you get the results you’re looking for. Once you get the garment right in 3D, this should enable you to cut down on physical sampling throughout the process,” he adds.
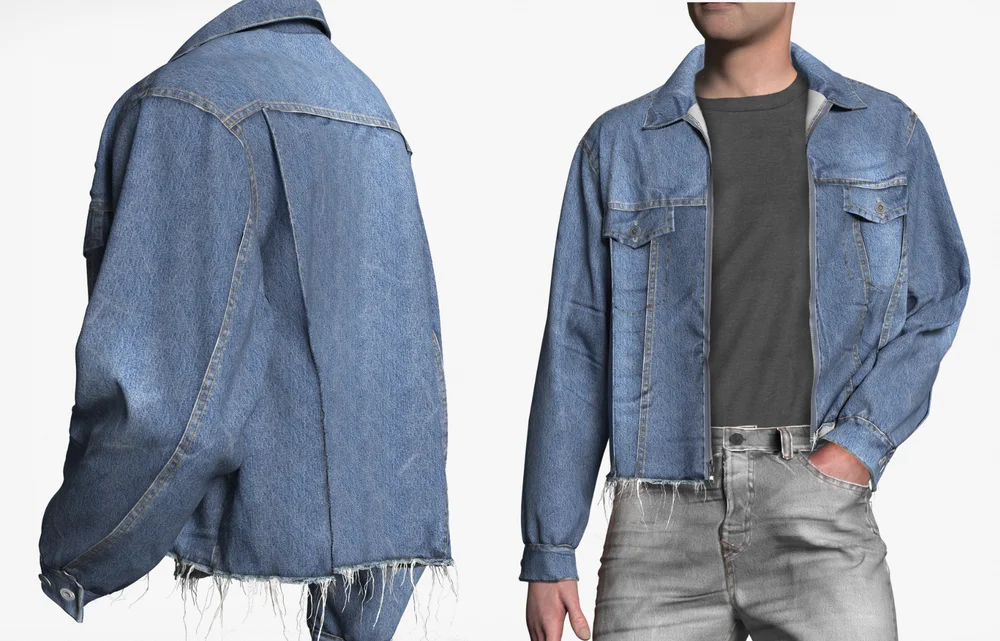
In terms of communication, when conducting a digital denim workflow, any comments or annotations can be made seamlessly, to ensure that there are no misunderstandings along the way before the factories replicate the final sample. One example would be when conducting the denim baking process, which factories use to add depth or creases to the garment. To mimic this effect in VStitcher the designer can leverage displacement maps. The software allows the designer to see a realistic render of this baking procedure before any physical fabric has been cured.
Baking Displacement Map – Create a separate displacement map like a whisker pattern on Photoshop and place as a pattern
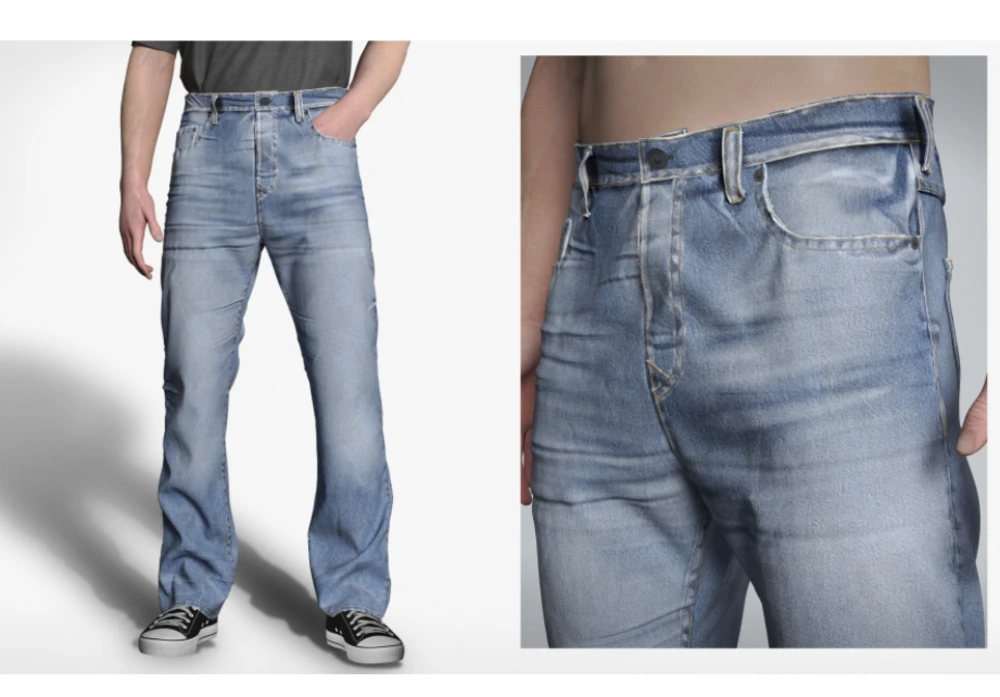
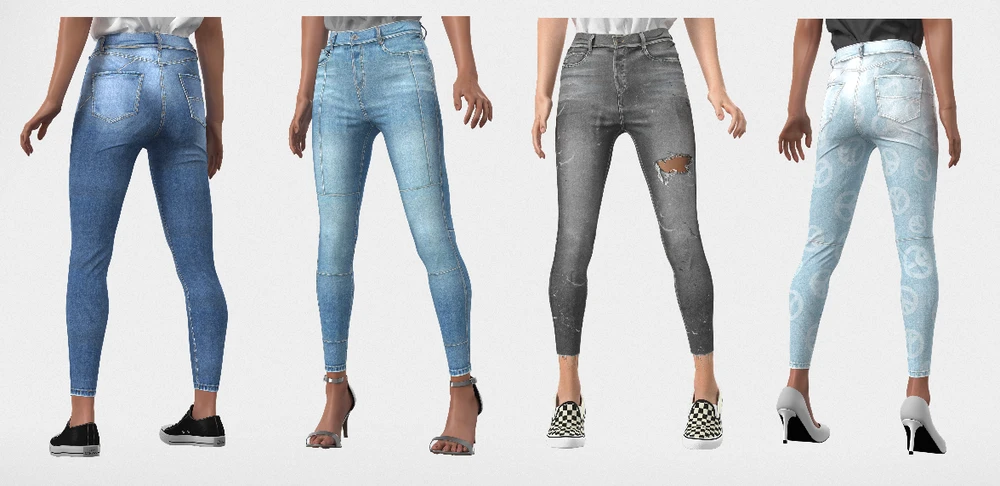
“People who work in denim love being hands-on. For me, it’s about being able to see your wash pattern in true-to-life size on the piece, with the same level as it would be in real life. As you design your jeans, you can custom-create your wash patterns and details exactly as you want them to be made. You can position each detail perfectly, from the rips to the abrasions.” – Greg Dodd
<> A few of Greg’s tips and tricks for creating denim in 3D:
Working with denim digitally gives you the benefit of grouping all different seams together, for example, placing the stitching, custom puckering textures, and stitch shadows all in one group. Once you have created your key seams with our without seam allowance, you more or less need five or six in order to create the realism, as each different layer enables your 3D jeans to look more lifelike. Once you have created your seams for each part of the jean, you can easily adapt them to be narrower, heavier, or lighter, by manipulating the transparency levels. You can also maneuver the seams to create clean or washed puckering without having to create it from scratch each time.
*Remember, darker shadows give your denim garments a more realistic and 3D appearance.
With Browzwear, you can seamlessly connect and import files directly from Photoshop into VStitcher. By leveraging Photoshop, you can adjust any lazer or wash pattern to fit your jeans perfectly, as well as apply it to every piece of the garment in one go. This significantly cuts down the time that would have been spent on pattern cutting, as you have the ability to experiment with different washes and export the pattern pieces to the printer file, automatically in the right shape.
*Remember, it’s important to have a real pair of jeans on hand that you can refer back to and analyze the construction throughout your 3D process.
We can create a template for washed jeans using their block, then create variations of the wash template with different tacking etc.
Adjustments and designs done on the same block and wash template
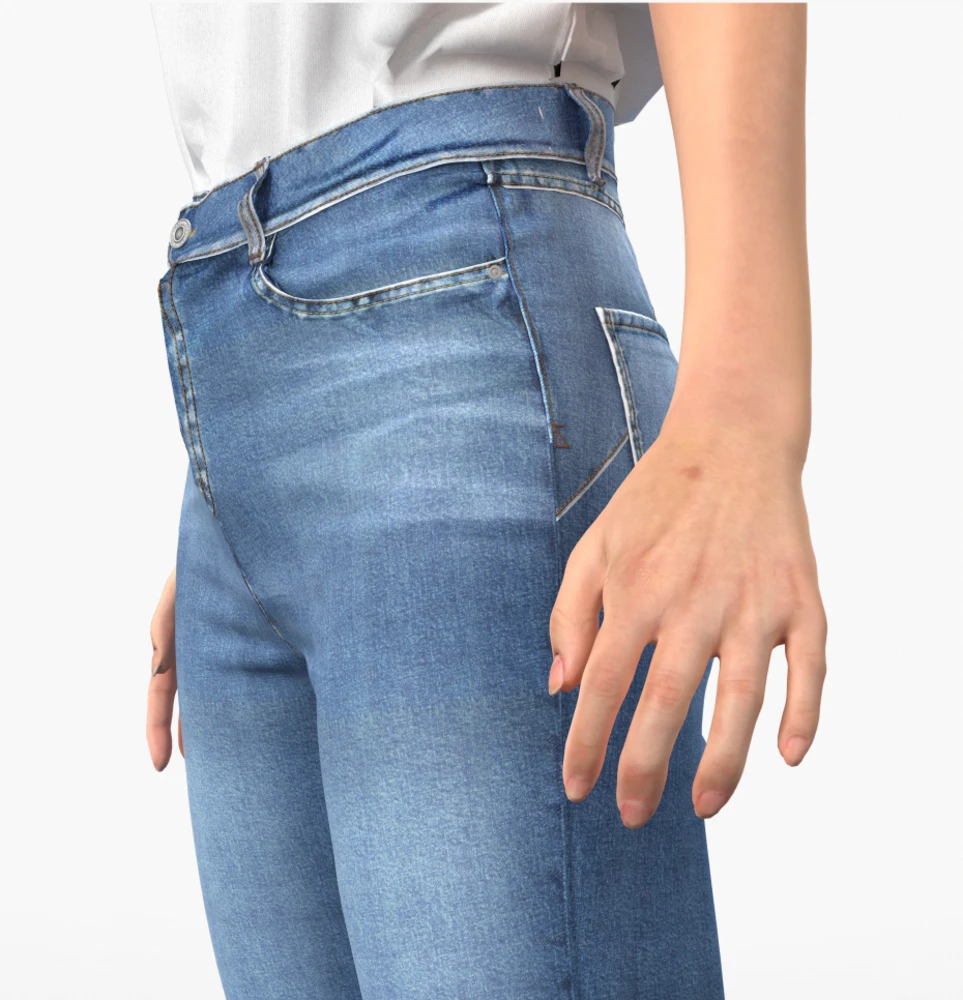
Manipulating the transparency levels in VStitcher enables you to work on the material blend and diffuse the color as you go. This enables you to experiment with a variety of tins and looks throughout the creative process. The transparency levels can be manipulated across your entire workflow, including the puckering, this enables you to create a more or less washed look for your jeans, depending on the level chosen.
*Remember, setting the transparency of the shadows, rips, puckering, wash panels, etc. influence the level of realism. Make sure to try out different blend modes (Overlay, Multiply) since they bring different results to your design.
When it comes to choosing the denim fabric, it’s advised to start off with a lighter base, as this makes it easier to make adjustments as you go. When working on a physical sample, usually the process begins with a darker tone of denim, this fabric is then washed in order to achieve the final look. However, when scanning your fabrics into 3D, it is better to begin with a lighter shade of denim, as it will enable you to visualize the texture of the fabric, in contrast to a darker shade which would be more challenging to lighten digitally, and may compromise the visual quality of the texture.
Make sure your fabric swatch is seamless and is used on the correct scale, that way it won’t create visible edges or frames when applied to a larger area. It can be tempting to scale the swatch up to see the texture more clearly, but try to make the size of the swatch true to life in order to achieve a more realistic result.
* Remember, it’s easier to make your fabric darker than lighter, so always begin with a lighter base color .
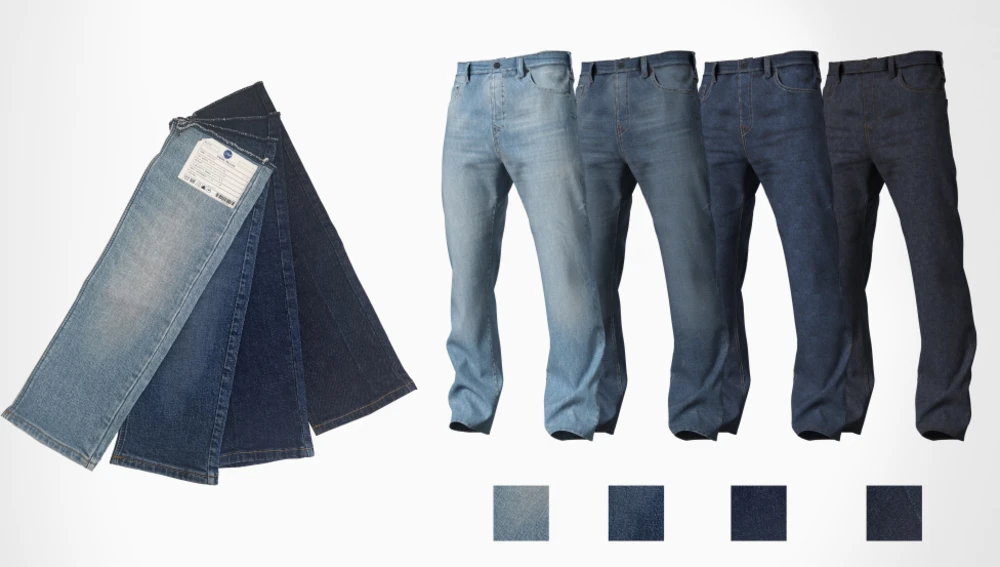
Same fabric used – scanned for physics. Photos and texture repeats are made from each wash-down panel.
Interested in learning more about creating jeans in 3D? Check out our Denim Masterclass and be sure to tune into the upcoming IADCE Summit that will be focusing on all things denim.
IADCE SummitIn our first of the two-part spotlight on denim creation, you’ll discover how to seamlessly work with denim washes in 3D.
We’ve put together some of our best methods and practices when it comes to creating and adding a variety of different washes to denim garments.
In this video, we'll take you through each stage of a drawcord design workflow. From creating the drawcord itself to stitching it internally to a...