Tutorials
Tutorial: Creating a Tunneled Drawcord in VStitcher
Learn how to create a tunneled drawcord in 3D—add eyelets, set fold lines, and adjust offsets in this step-by-step tutorial.
January 22, 2024
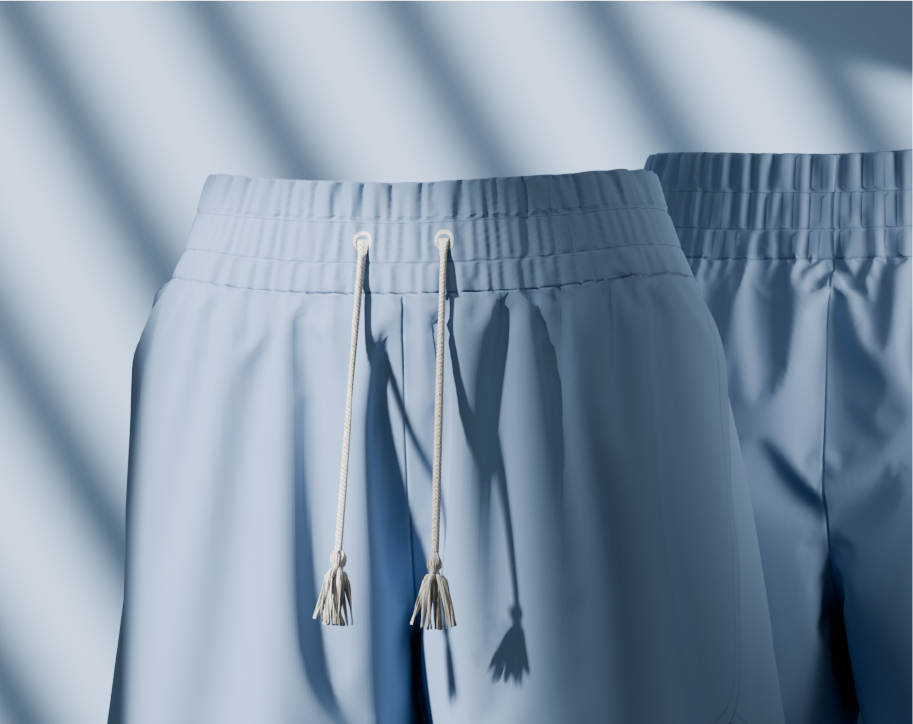
Are you ready to add a touch of elegance and versatility to your 3D designs? In this tutorial video, we'll guide you through the process of creating a stunning tassel and draw cord. Let's dive in!
Start by drawing the cord in 3D. Use the insert rectangle tool to create a rounded piece. Adjust the width and length to match the desired dimensions. Utilize the pen tool and SNAP to Center for precise edits. Add symmetry and stitch the edges together to form a loop.
Adjust the layer and grid size to ensure the draw cord sits perfectly. Arrange the draw cord in the desired position, set the wrap type to flat, and assign the correct material.
Now, let's move on to the tassel. Create it in two pieces using the insert rectangle tool. Clone the rectangle and adjust dimensions. Use clone by offset to create internal lines for slits, forming the fringe. Align and stitch the tassel pieces together to complete the loop.
Dress the tassel for added realism. Apply shrink to the bottom edge for a gathered look. Enhance the visual appeal by creating a custom fabric with a tassel texture for added detail.
In just a few simple steps, you've successfully created a 3D tassel and draw cord to elevate your designs. You can also learn how to create a tunneled drawcord in a few simple steps.
Got questions? We’re here to help!
Visit our help center or contact us at support@browzwear.com.
Learn how to create a tunneled drawcord in 3D—add eyelets, set fold lines, and adjust offsets in this step-by-step tutorial.
In this tutorial, we'll walk you through various workflows to create your own stunning Substance 3D artworks.
Browzwear’s Dorelle McPherson guided IACDE 3D Summit participants on building design briefs and streamlining workflows.