Tutorials
Tutorial: Creating a Tassel Drawcord in VStitcher
Learn step by step how to create a 3D tassel drawcord using VStitcher tools like pen, stitch, and clone by offset.
January 15, 2024
In this video tutorial, we'll explore the process of creating a tunnel drawcord in 3D. This versatile technique involves using fold line offsets, eyelets, and stitching to bring your design to life. Let's dive into the step-by-step instructions to achieve this stylish and functional detail.
To start, we'll add eyelets to the pattern. Using the insert ellipse tool, strategically place the eyelets along the desired locations. After creating the ellipses, use the select tool to choose the ellipse's internal line, convert it to a hole, and add a zigzag stitch for a decorative touch.
Moving on to the waistband, it's crucial to configure the fold line properties correctly. Under line properties, access the advanced dropdown menu. Ensure the fold line has a negative prepare angle, indicating that the fabric will fold towards the body. Adjust the offset value to 1.5 layers to accommodate the drawcord.
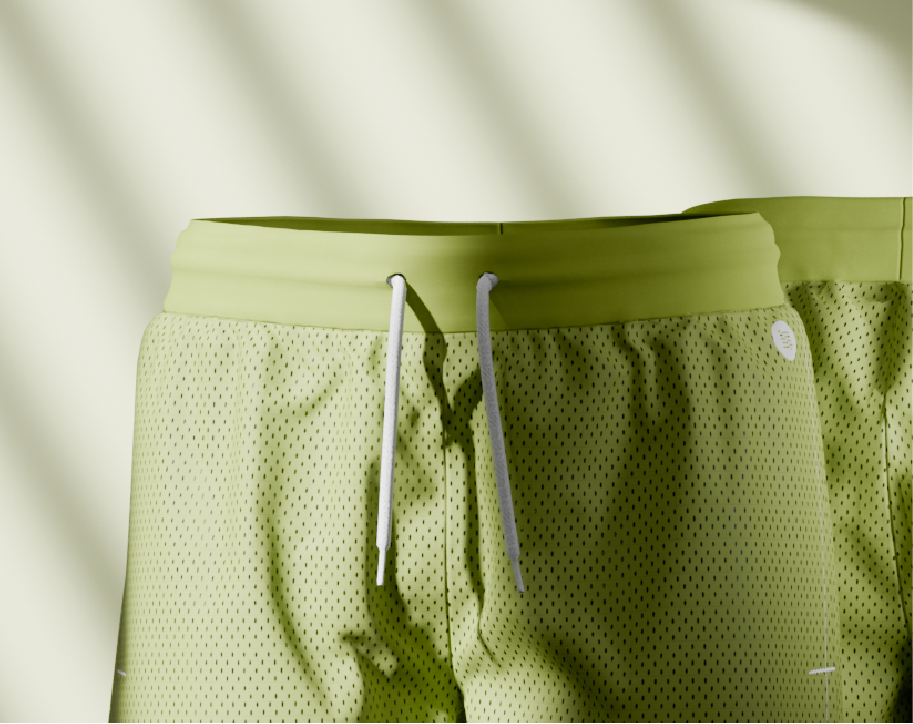
With the waistband set up, it's time to create the drawcord pattern. Utilize the insert rectangle tool to form a pattern equal to half the drawcord's length. Add symmetry and a fold line with a 1.5 offset to keep it outside the waistband.
Stitch the top and bottom edges of the drawcord to the internal lines on the waistband. Pay attention to the stitch length to ensure alignment with eyelets. Dress the waistband first and then the drawcord, using Focus styling to pull the drawcord through eyelets.
To enhance the drawcord's appearance, create a rounded pattern using clone by offset. Adjust the internal line to form a soft fold line and stitch it to the waistband. Fine-tune the drawcord's layers and fold line offset to achieve the desired 3D effect.
For a polished finish, add aglets to the drawcord. Shrink the edge property by 60%, set the depth, and create a distinct material for the aglet. This step adds a realistic touch to your 3D drawcord.
By following these detailed steps, you can master the art of creating a tunnel drawcord in 3D. Experiment with different styles and configurations to enhance your garment designs and bring your creative visions to life. You can also learn how to create a tassel drawcord in a few simple steps.
Got questions? We’re here to help!
Visit our help center or contact us at support@browzwear.com.
Learn step by step how to create a 3D tassel drawcord using VStitcher tools like pen, stitch, and clone by offset.
In this tutorial, we'll walk you through various workflows to create your own stunning Substance 3D artworks.
Browzwear’s Dorelle McPherson guided IACDE 3D Summit participants on building design briefs and streamlining workflows.