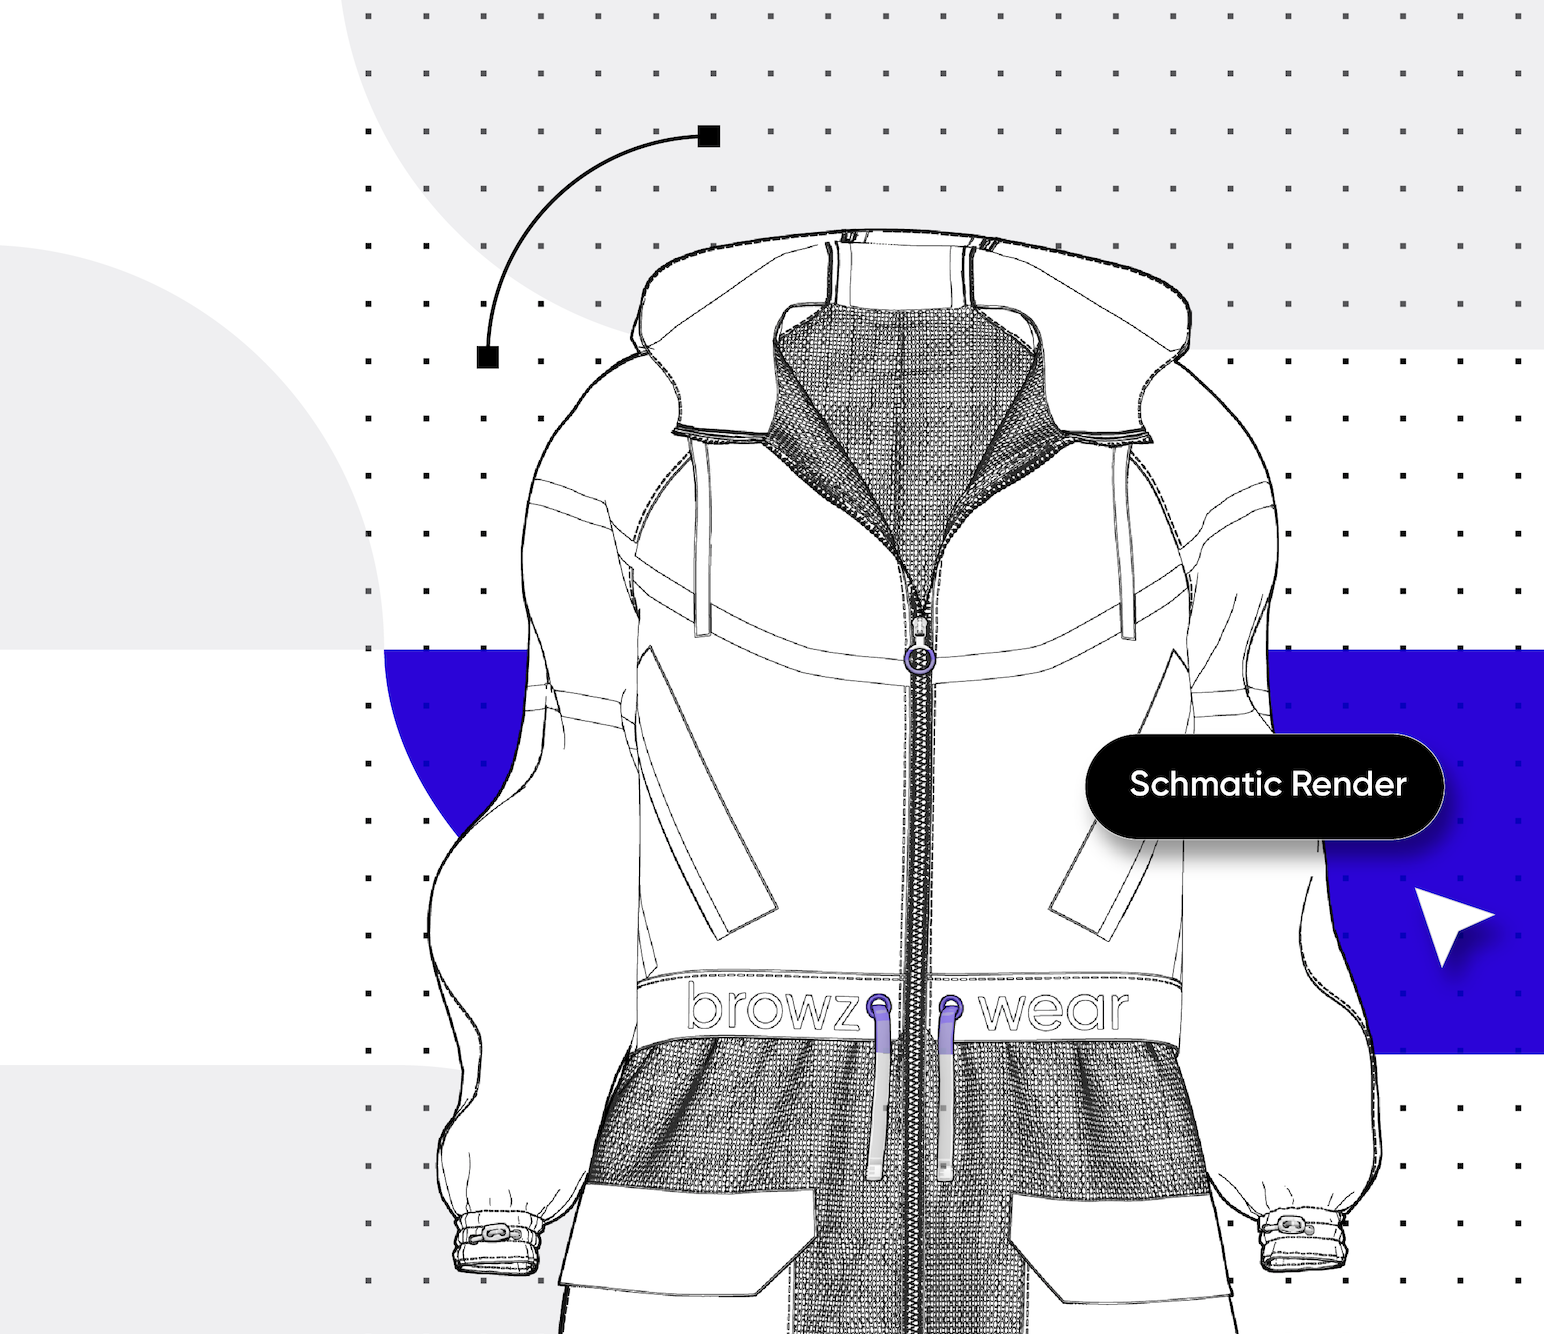
In our latest video tutorial, we're diving into the world of schematic renders using VStitcher. Schematic renders are the key to conveying intricate design details effectively, presenting your garments in a simplified black and white format reminiscent of technical sketches.
Getting Started: Quick and Easy Schematic Renders
To kick things off, simply click on the Camera icon in the Main Toolbar, select Schematic render from the drop-down menu, and press Render. It's that easy!
But the real magic happens when you delve into specific tips to elevate your schematic renders and give your garments a polished appearance.
Perfecting Your Schematic Render
The final result of your schematic renders depends on the settings and actions you apply. Here are some key steps to enhance your renders:
-
Create a New Colorway: In the Colorways workspace, clone the colorway, unlink materials, and change fabric colors to white.
-
Adjust Texture Maps: Fine-tune texture maps for optimal results. Consider replacing the Diffuse map with a blank image and set other maps accordingly.
-
Emphasize Seams: Enhance stitch visibility by changing their color to black and increasing thickness. Add black piping to edges for an extra accent.
-
Focus on Fabrics: Preserve distinctive textures like mesh or lace. Adjust scale, layer grouping, or transparency for a unique and appealing schematic render.
-
Styling Matters: Ensure your avatar is in an A-pose or with Arms Down for technical images. Use styling tools like Flatten and Pinch for draping adjustments.
-
Switch to OpenGL: Transition from Unreal Engine to OpenGL for a cleaner final rendering without shadows on the garment.
-
Fine-Tune Rendering Settings: Experiment with rendering settings, including avatar inclusion, background transparency, image size, and field of view.
-
Save or Render: Choose between saving a snapshot or clicking "render" for immediate use in your design pipeline.
Tech-Pack Ready: Preset Your Schematic Render
Take it a step further by saving your settings as a preset for your tech-pack. Click on the render icon, select 'images' and 'schematic render,' then click Create. Your tech pack is now ready to be sent to manufacturers.
For a deeper dive into the world of schematic renders in VStitcher, check out Help.browzwear.com. Master the art of conveying your design vision with precision and style using schematic renders in VStitcher!