Tutorials
Tutorial: Creating Artworks with Substance Designer
In this tutorial, we'll walk you through various workflows to create your own stunning Substance 3D artworks.
April 30, 2023
Import the DXF file into VStitcher.
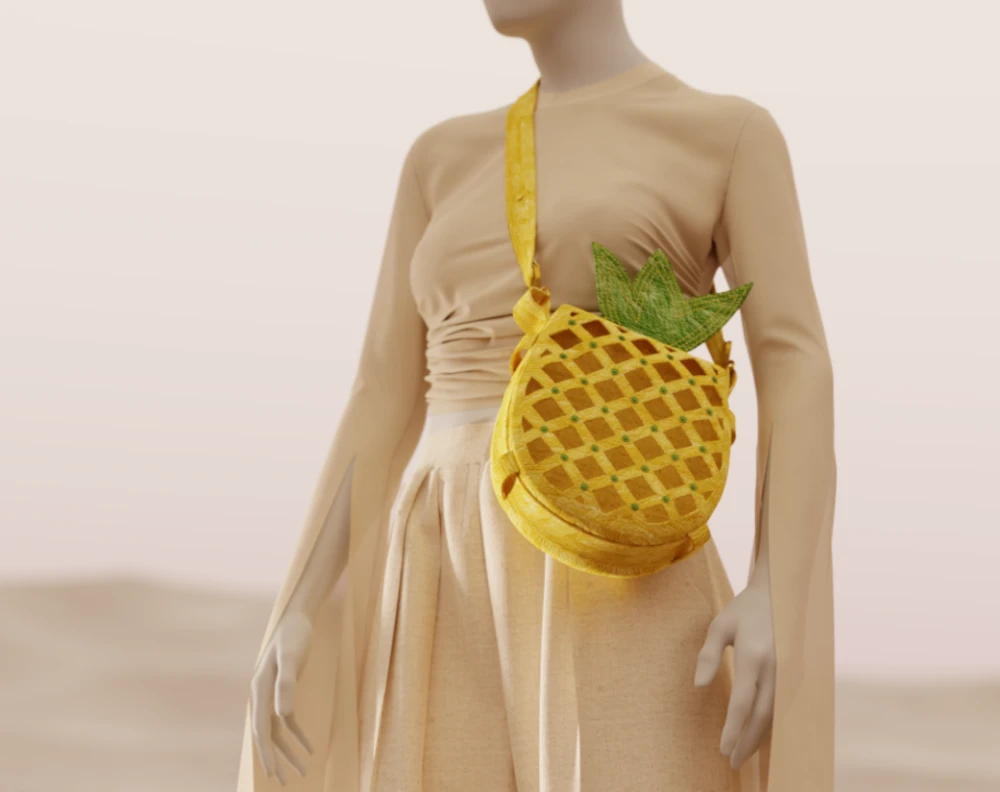
To get started, we recommend hiding the avatar for easier editing of the bag. Next, dress the bag to begin the design process and adjust the patterns using the styling tools. Be sure to lock the bag’s pattern pieces and hide the textures for easier editing. To create a more realistic look, we’ll convert the internal lines to holes and add the bag’s body pieces, placing them using the 3D Gizmo. Use the Move tool to position the new pieces behind the holes and add the bag’s strip and trims.
Once completed, move the handbag to the side and show the avatar, before preparing and dressing the pants and shirt. Assign the new fabrics to the outfit, and don’t forget to change the avatar’s pose for a more dynamic look. Lastly, we’ll bring the handbag back into the 3D window and finalize it using various styling tools and the 3D Gizmo.
As we celebrate our planet this Earth Month, we collaborated with our longstanding partner Swatchbook to allow all our users to create their eco-friendly looks in VStitcher. To spark your creativity, this short video tutorial demonstrates how to create a sustainable yet stylish look using a variety of next-gen fabrics, including bamboo and hemp, from Swatchbook’s fabric library.
Create your own sustainable look:
Download the Swatchbook U3M filesIn this tutorial, we'll walk you through various workflows to create your own stunning Substance 3D artworks.
This video shows how to set artwork size and position for grouped sizes with precision and ease.
Browzwear’s Dorelle McPherson guided IACDE 3D Summit participants on building design briefs and streamlining workflows.