How to Use 3D Trims
From trims to full simulations, VStitcher ensures accuracy while enabling designers to realize their creative vision.
January 28, 2024

'Design in Sizes' is a powerful tool within VStitcher software that allows you to manage different size specifications seamlessly within a unified workflow. By working with this tool, you can provide your workflow:
How does it work?
Design in Sizes is a valuable tool for fashion designers who want to work smarter, not harder when creating size-inclusive garments.
In this video tutorial, we will delve into the ultimate feature that allows you to configure the size and position of artwork for defined groupings of sizes. Let's dive in!
To embark on this journey, ensure that you have a graded garment where different sizes have been meticulously dressed on their avatars. If you're curious about setting up avatar size sets, check out Lesson 301 on Avatar and Pattern Shape Functions.
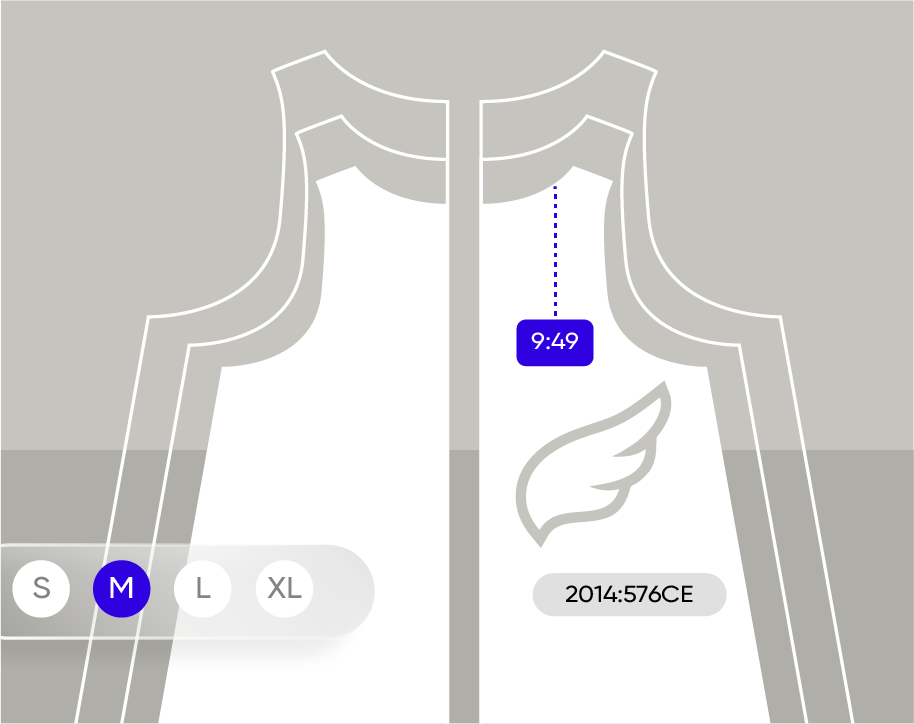
Now, let's dive into the process. Begin by assigning an artwork to the base size. Then, select the artwork in either the 2D or 3D window. With the select tool in the context view, click on the 'I' icon or view button to reveal the design and sizes pane at the bottom of the screen.
The design and size pane is your gateway to a world of possibilities. It displays all available sizes, automatically assigning and positioning the artwork on different sizes. This feature proves especially handy when dealing with various garment sizes, ensuring that the artwork remains proportionate to each size.
Undock the pane for a closer look, and don't forget to explore options like zooming in and out for a better view. The rulers of the artwork position can be hidden or shown, depending on your preference. Each size is highlighted, with the selected size prominently displayed in bright blue.
Working with design and sizes involves defining or importing a grouping of sizes. For example, if extra small and small share the same artwork size, group them. Hover over the dot between sizes and use the scissors icon to split or merge groups, tailoring the configuration to your needs.
Lock configurations to prevent accidental changes and save them as presets for future use. Sharing presets with other users is a breeze - just export the VStitcher size ranges preset SDP and send it over.
To import an existing SDP file, choose the preset from the dropdown menu that suits your needs. Whether you want to treat all sizes as one group or divide every size, Browzwear has you covered.
Once your defined group of sizes is in place, editing and adjusting become a breeze. Changes in the 2D or 3D window are instantly updated in the design and sizes pane. Fine-tune the artwork for each size, and when you're done, simply exit the design and sizes pane by clicking the 'X' icon.
Imagine creating one base design and instantly seeing it adapt perfectly to any size range. There are no more manual scaling or fit surprises, just flawless visuals and streamlined workflows.
Design in Sizes empowers you to:
It's the efficient, quality-driven choice for every designer who wants to achieve more in less time.
Looking to create 3D apparel like a pro? It's never too late to take your skills to new heights! Browzwear University helps apparel companies speed up their digital transformation and boost the use of 3D in their operations. It offers an on-demand learning platform where users can acquire the necessary skills to become proficient VStitcher users.
From trims to full simulations, VStitcher ensures accuracy while enabling designers to realize their creative vision.
In this tutorial, we'll walk you through various workflows to create your own stunning Substance 3D artworks.
Discover 1930s sleeve design with Browzwear's 3D fashion tools. Learn vintage-inspired techniques in our Garden Party digital workshop.