Tutorial: Creating Artworks with Substance Designer
In this tutorial, we'll walk you through various workflows to create your own stunning Substance 3D artworks.
April 28, 2021

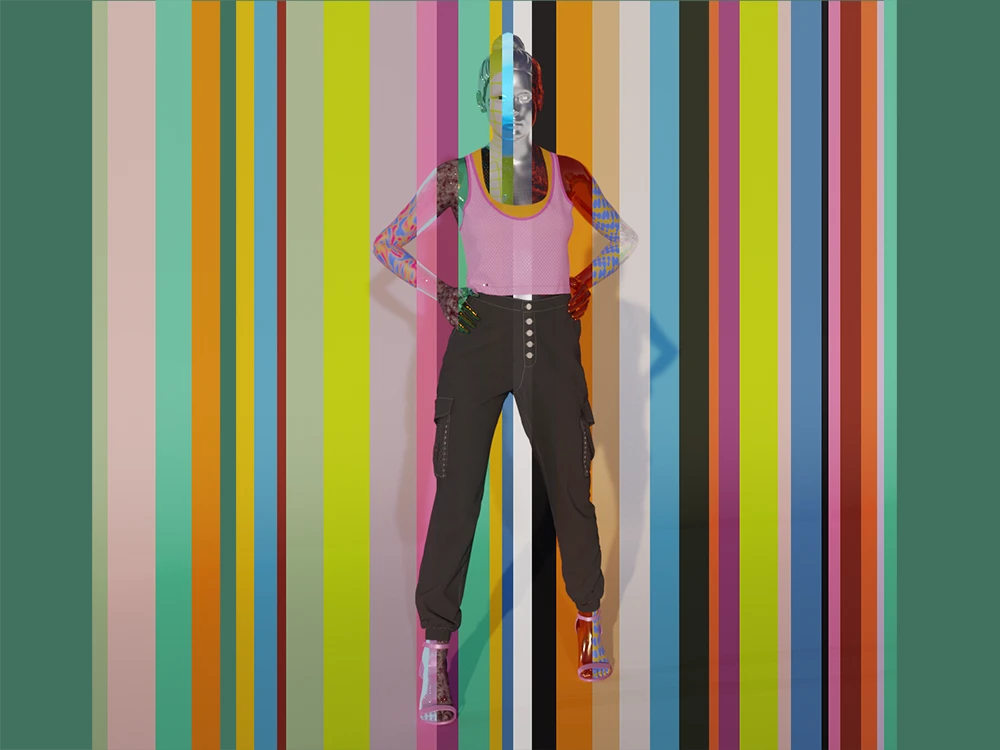
There are endless possibilities when it comes to showcasing your 3D garments, one being the avatar that you are using. We thought to inspire you with some useful tips on how to enrich your creative process by experimenting with different types of skin materials for your avatar, using Blender.
In this video, we’ll show you how to replace Olivia’s skin material with a variety of colors and textures as well as applying them to different parts of the body such as her hair, eyelashes, and eyes. We’ll start by exporting a pre-made file from 3D clothing design software, VStitcher to Blender as an OBJ or FBX file, and ensure the avatar is rotated to a stand-up position before beginning the creative process.
With Blender’s Principled BSDF shader, you can replace the skin material with a solid color and tweak the color, metallic properties, glossiness, and more to achieve a variety of eye-catching results. You’ll also be able to experiment with and combine different nodes such as Noise Texture, Color Ramp, and Voronoi Texture to create new, unique types of textures.
If you’d like to learn more about exporting from VStitcher to Blender check out this short video tutorial or visit our help center.
In this tutorial, we'll walk you through various workflows to create your own stunning Substance 3D artworks.
In this tutorial, we guide you through creating the perfect retro-inspired tracksuit using VStitcher.
This workshop explore the integration of Substance 3D Designer and Substance 3D Sampler, offering an exploration of workflows for apparel designers.