Tutorials
VStitcher & Substance 3D Workshop: Redefining 3D Asset Creation
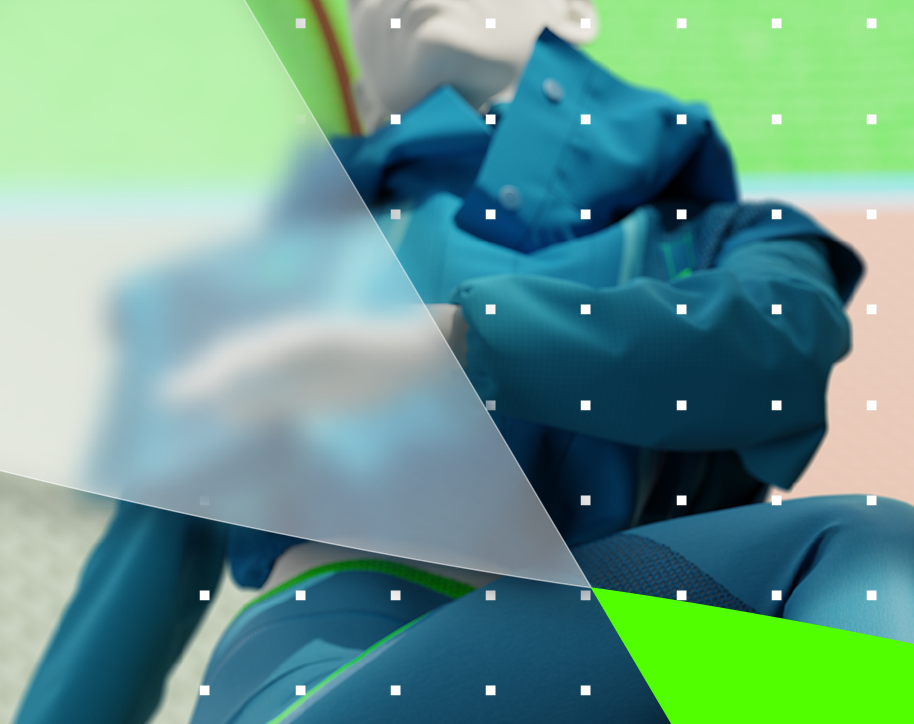
This workshop explore the integration of Substance 3D Designer and Substance 3D Sampler, offering an exploration of workflows for apparel designers.