Part 1: Creating A Dress From Scratch
Are you tired of manually drafting patterns? In this two-part demo, learn to create patterns directly in the 2D window with your trusted 3D clothing design software, VStitcher!
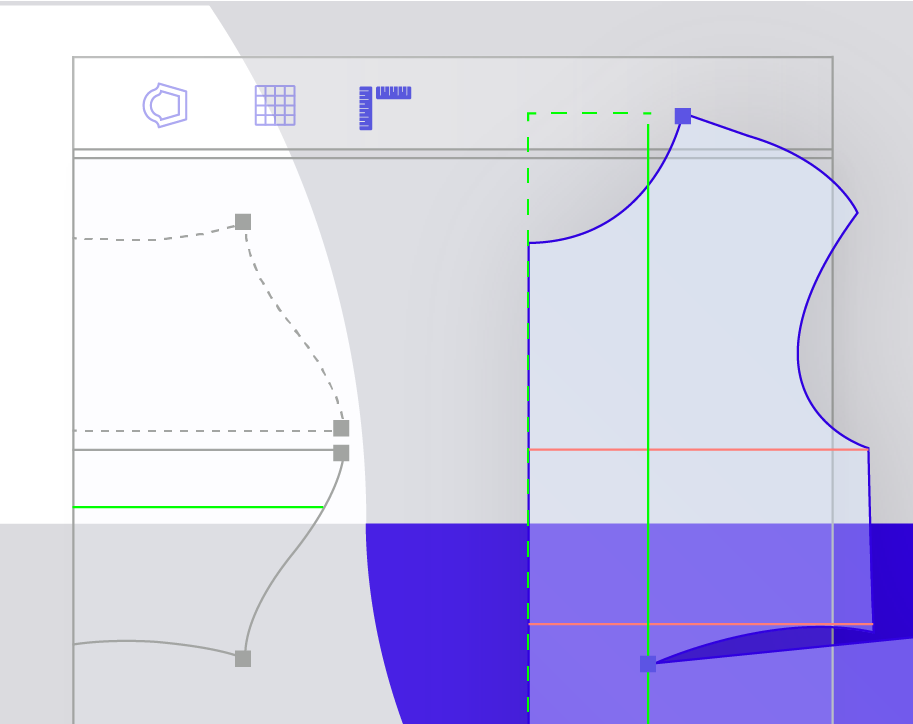
We’ll begin by using the Avatar Olivia, a size 38 or US size 6, as a reference for the dress measurements. Then, it’s time to create the front panel by drawing a rectangle and dividing it into intersections with the pen tool. We’ll then mark points or notches for accuracy before smoothing the lines and removing unnecessary handles.
Next, we move on to creating the back panel, which we can achieve by cloning the front panel or using guidelines to form the shape. We’ll then show you how to clone guidelines and mark measurements by offsetting them.
After combining the two panels, your pattern is ready to go! With these simple steps, you can create a fashion-forward piece with precision and ease in no time.
Part 2: Exploring 2d Cad Tools
In part two of our tutorial, we’ll take the dress base we created in part one and develop an entirely new style.
First, we clone the garment and slice the waistline to create a skirt. Then, we take it up a notch by converting the diamond dart into unique holes and canceling the inner symmetry to work on half of the pattern.
The front top piece and skirt both get transformed into darts and rotated for a fresh new look, resulting in a gorgeous silhouette that will turn heads. But that’s not all – we also implement the dart, eliminate unnecessary corner points, and create new inner symmetry for all pieces.
Once the pieces are sewn together, we dress the dress in the 3D window and adjust the waistline for a flawless fit.
Want to learn more about VStitcher’s 2D CAD tools?
Learn More