VStitcher & Substance 3D Workshop: Redefining 3D Asset Creation
This workshop explore the integration of Substance 3D Designer and Substance 3D Sampler, offering an exploration of workflows for apparel designers.
December 6, 2023

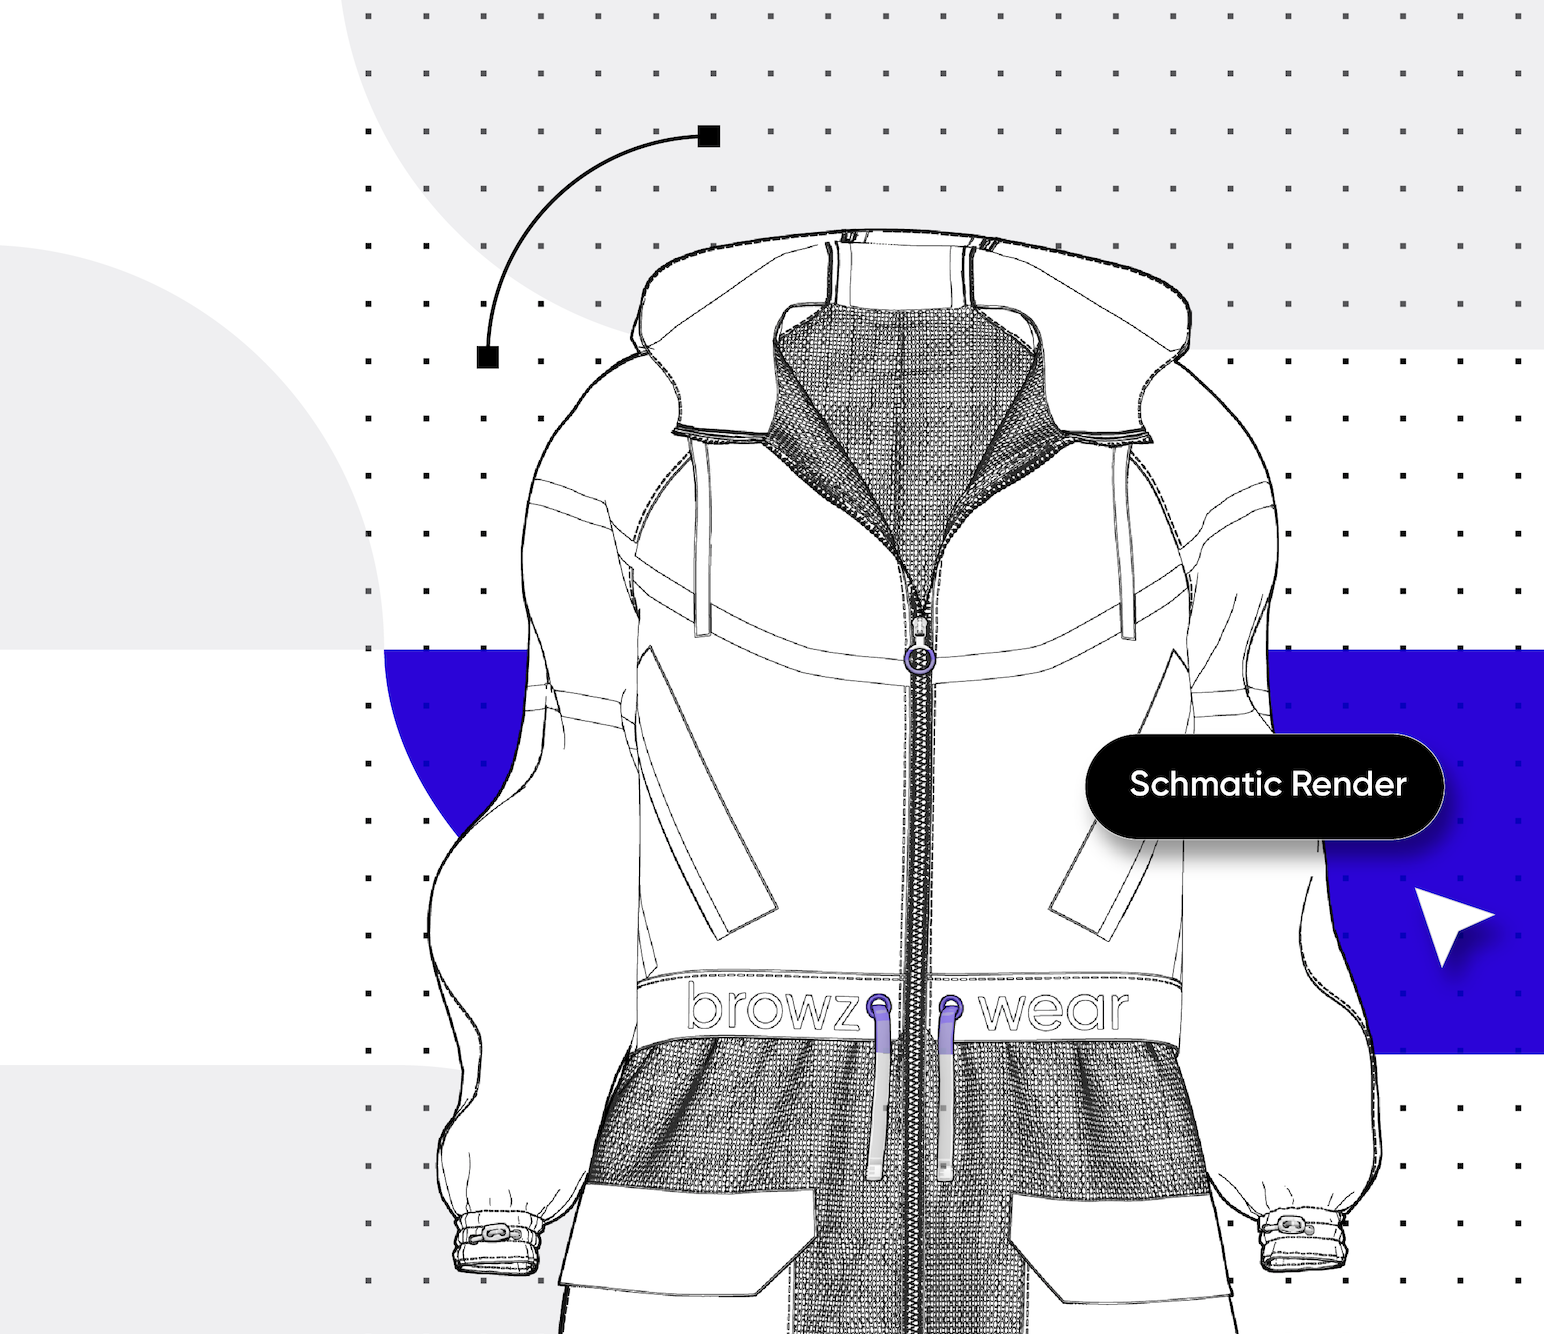
In our latest video tutorial, we're diving into the world of schematic renders using VStitcher. Schematic renders are the key to conveying intricate design details effectively, presenting your garments in a simplified black and white format reminiscent of technical sketches.
To kick things off, simply click on the Camera icon in the Main Toolbar, select Schematic render from the drop-down menu, and press Render. It's that easy!
But the real magic happens when you delve into specific tips to elevate your schematic renders and give your garments a polished appearance.
The final result of your schematic renders depends on the settings and actions you apply. Here are some key steps to enhance your renders:
Create a New Colorway: In the Colorways workspace, clone the colorway, unlink materials, and change fabric colors to white.
Adjust Texture Maps: Fine-tune texture maps for optimal results. Consider replacing the Diffuse map with a blank image and set other maps accordingly.
Emphasize Seams: Enhance stitch visibility by changing their color to black and increasing thickness. Add black piping to edges for an extra accent.
Focus on Fabrics: Preserve distinctive textures like mesh or lace. Adjust scale, layer grouping, or transparency for a unique and appealing schematic render.
Styling Matters: Ensure your avatar is in an A-pose or with Arms Down for technical images. Use styling tools like Flatten and Pinch for draping adjustments.
Switch to OpenGL: Transition from Unreal Engine to OpenGL for a cleaner final rendering without shadows on the garment.
Fine-Tune Rendering Settings: Experiment with rendering settings, including avatar inclusion, background transparency, image size, and field of view.
Save or Render: Choose between saving a snapshot or clicking "render" for immediate use in your design pipeline.
Take it a step further by saving your settings as a preset for your tech-pack. Click on the render icon, select 'images' and 'schematic render,' then click Create. Your tech pack is now ready to be sent to manufacturers.
For a deeper dive into the world of schematic renders in VStitcher, check out Help.browzwear.com. Master the art of conveying your design vision with precision and style using schematic renders in VStitcher!
This workshop explore the integration of Substance 3D Designer and Substance 3D Sampler, offering an exploration of workflows for apparel designers.
Discover 1930s sleeve design with Browzwear's 3D fashion tools. Learn vintage-inspired techniques in our Garden Party digital workshop.
Browzwear’s Dorelle McPherson guided IACDE 3D Summit participants on building design briefs and streamlining workflows.