If you’ve already watched our introductory video to the VStitcher Animation Workspace, we’re sure you’re ready to take your animation skills to the next level. In part II of our animation spotlight, we’ll be demonstrating how to export an animation sequence created in 3D fashion design software, VStitcher, and render it using Blender.
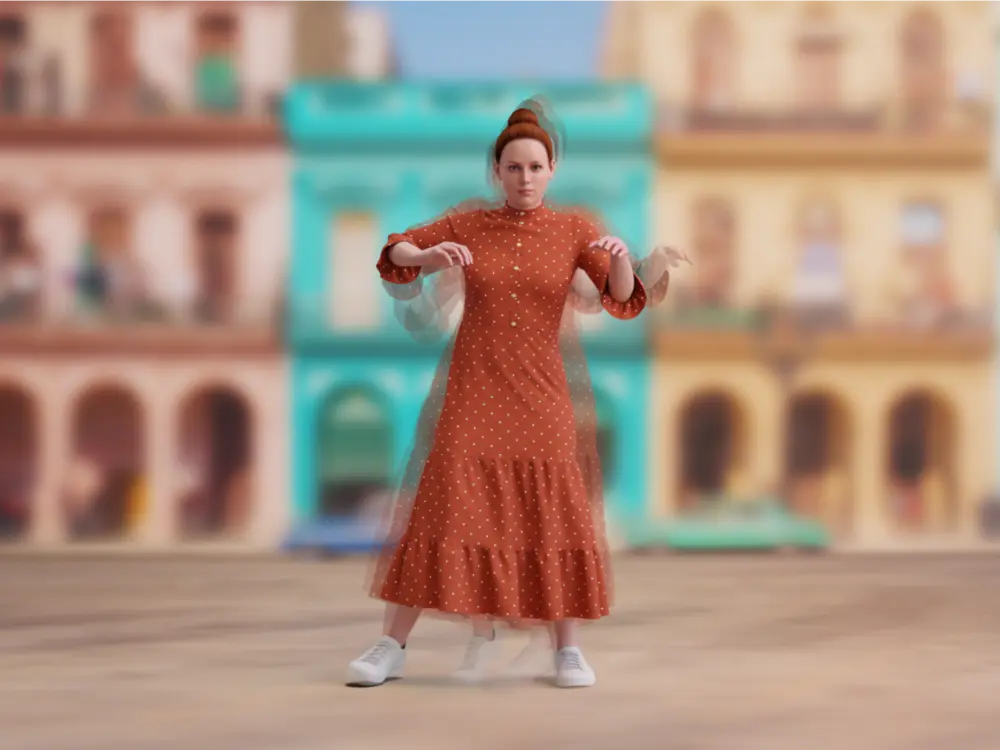
We’ll be changing things up this time, using a new colorway for Olivia’s dress before exporting the dressed avatar as an OBJ + MDD file into Blender. Once you have successfully imported your avatar into Blender, and adjusted the frames to match the length of the animation, you can enhance the environment by adjusting the lighting and camera settings for an ultra-realistic result.
To further enhance your avatar’s appearance, you can do so by tweaking both the garment and its skin settings before rendering it. You can also spruce up your animation by adding a background of your choice to create a real-life setting.
We look forward to seeing your creations take center stage with the VStitcher Animation Workspace. To learn more about the workspace and for additional useful tips and tricks, visit our support site .
Support Site