Designing a garment is like telling a story, every little bit of detail counts. Each designer’s story is unique and begins at the initial concept and is told throughout the creative process. However, the journey from concept to creation can sometimes be complex and designers are often looking for ways to make the process faster and more efficient. Therefore, having the right tools to carry the process forward is key.
When designers work with VStitcher, they can leverage an efficient workflow while having the freedom to experiment with different tools and features to enhance their techniques and produce outstanding results. The software enables designers to create the most complex of 2D patterns and designs and convert them into true-to-life 3D garment renderings that depict the exact fit as well as any pattern flaws.
Here are some of our top feature recommendations when creating garments with artwork:
External Drawings Feature for Added Flexibility
The External Drawings feature gives you the freedom to create drawings in Adobe Illustrator, which are automatically synchronized with VStitcher. This tool can be particularly useful at the start of the initial design phase as it enables you to explore your design ideas using external drawing features. All you have to do is load up the garment that you are currently working on, select the ‘External Drawings’ tool, which will open up Illustrator, and begin drawing your design. Once you are happy with your design, the saved image will be displayed in both the 2D and 3D window in VStitcher. Having the ability to intertwine external drawings within VStitcher is a highly useful tool to enhance your garments with artwork, patterns, and prints.
Utilizing the Snapshot Feature Throughout the Design Process
Once your garment simulation is complete, the final simulated garment is automatically saved as a Snapshot in VStitcher, which enables you to compare different simulation iterations and use them as a reference point throughout the design process. By being able to save multiple snapshots within the same file, you can quickly toggle between different poses and avatars. You can also use the snapshot tool to save garment adjustments made with 3D styling tools, for instance, if you’d like to see if an outfit looks better with the shirt tucked in as opposed to untucked. Ultimately, the snapshot tool is a great time saver when comparing ways of styling your garments or seeing how they look on different avatars, as you’ll no longer need to re-dress and re-simulate the garment each time.
You can learn more about the Snapshot feature and how to utilize it here .
Enhancing Prints with Substance by Adobe
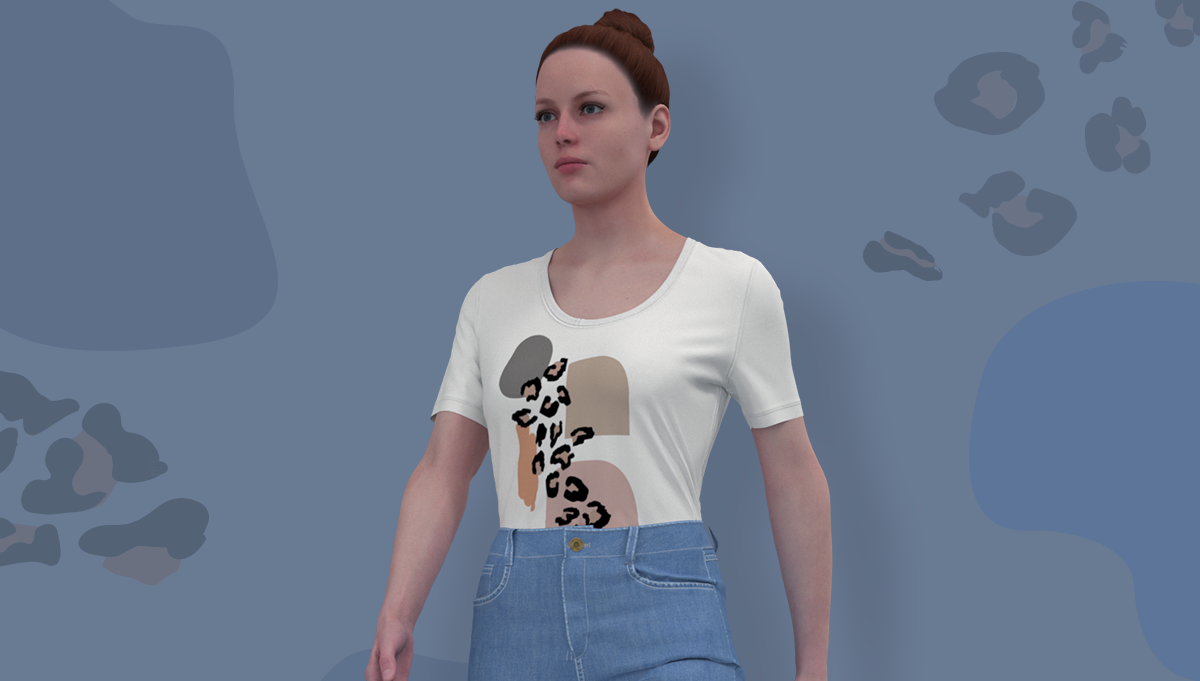
When adding artwork to a garment, our Substance integration gives you the ability to see your graphic in the correct execution type. For example, you can customize and visualize your artwork in a matter of seconds as a puff print, glitter, or even embossed. This practically eliminates the time and effort that would have been spent creating the effects manually. The presets must be imported in SBSAR format to apply the effects to your artwork. You can learn more about importing Substance effects as well as creating custom presets here . By leveraging true-to-life 3D materials and texturing, decisions can be made over prints that are accurate to the physical result without having to wait to get a physical sample. This also facilitates a cost-saving approach, as you’ll be able to calculate the sum of the materials before the pieces are physically produced.
For more about print executions with Substance, check out this video
Editing Artwork
Now that you can adjust your artwork according to the size and fit of the garment and apply it across different size ranges, you’ll also have the freedom to experiment with the artwork itself. Once you have created the artwork you would like to use on a specific garment, you might decide that you’d like to change its color scheme. Rather than starting over, you can simply modify the properties of vector artwork and edit its color directly within VStitcher, without needing to switch to an external application that may have initially been used to create the graphic or logo. You’ll be able to edit your artwork with flexibility by changing each artwork’s color and exploring different colorways. However, editing your artwork goes beyond showcasing, you can also control the amount of color that goes into the artwork in order which will ultimately impact the overall cost of production. This can be done by consolidating the color palette you wish to use and applying it across all of your colorways with the click of a button. This allows you to calculate your costs as you plan your collections.

Learn more about how to edit artwork here .
Applying Artwork Across Different Sizes
When designing fashion garments, one of the most important elements is, of course, the print or pattern that can often be the defining feature of the entire outfit. However, getting the right fit and perfecting the size and positioning of your artwork can sometimes be challenging as well as time-consuming. To give designers more control over the artwork creation process in VStitcher, our Design in Sizes tool allows you to view all of your size ranges at a glance and therefore be able to make faster decisions across the board.
So, when it comes to applying your artwork to different-sized garments, the tool enables you to divide the different sizes into groups, which will then be displayed in snapshots on the Design in Sizes pane. All you have to do is define the size groups according to your requirements before going ahead and perfecting your artwork across a collection. Additionally, can make changes to one size set at a time, for instance, the positioning of an image or logo in the small sizes only or resizing the artwork depending on the size of the garment. You can also save your size groups and keep them for future collections simply by importing them back into VStitcher as and when needed, without having to start from scratch each time.

To learn more about our Design in Sizes tool, check out this video tutorial
To Summarize,
By leveraging the right set of 3D fashion design tools when transitioning your idea from concept to reality, you’ll be able to seamlessly experiment, adjust, and perfect your artwork. Therefore, you can ensure that your story is effectively communicated and accurately reflected in the final result without any detail going unnoticed.
Want to put these features to the test but don’t yet have access to VStitcher? With Browzwear’s Indie Program , you can enjoy a free trial license of VStitcher and learn how to take your designs from concept to creation. Additionally, you can also explore our on-demand learning platform, Browzwear University , where you’ll be able to skill-up in 3D design entirely at your own pace.